Introduction
Building your own drone can be an exciting and rewarding project, offering you the opportunity to customize and understand the inner workings of these unmanned aerial vehicles. Whether you’re a hobbyist or aspiring engineer, this step-by-step guide will walk you through the process of creating a drone from scratch. Keep in mind that building a drone requires some technical knowledge and familiarity with electronics, so it’s essential to exercise caution and follow safety guidelines.
Materials and Tools
Before you embark on your drone-building journey, gather the necessary materials and tools:
Materials:
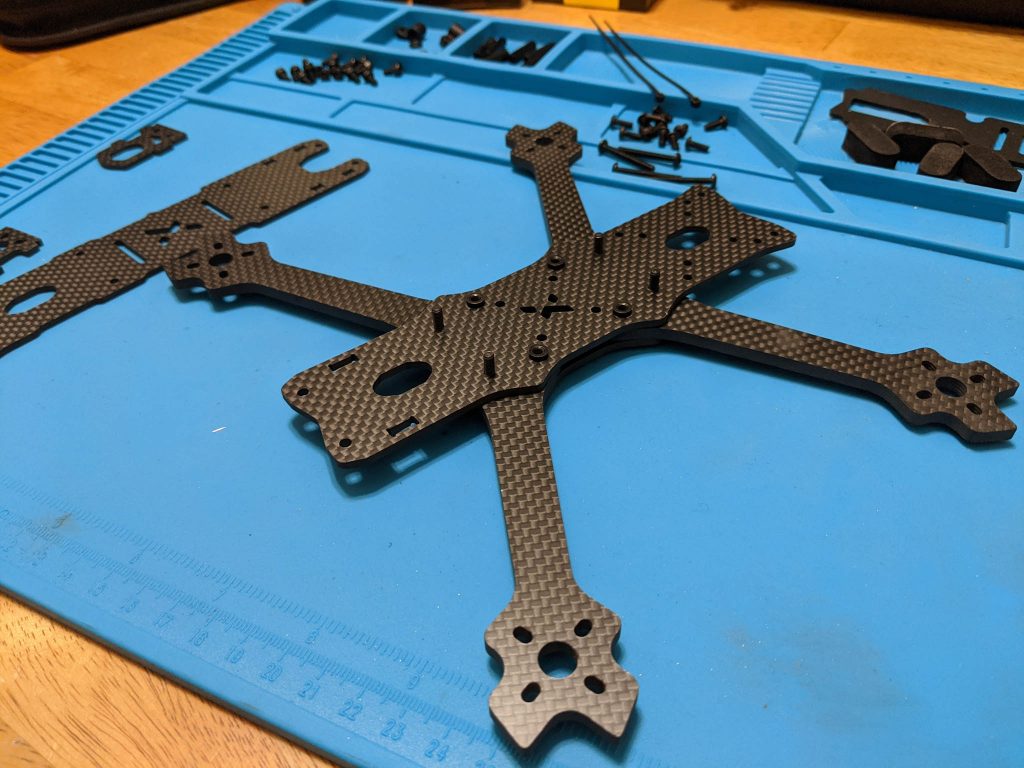
Drone frame
Motors and propellers (4)
Electronic Speed Controllers (ESCs) (4)
Flight controller board
Power distribution board
LiPo battery
Radio transmitter and receiver
Propellers
FPV camera (optional)
FPV goggles or monitor (optional)
Tools:
Soldering iron and solder
Wire cutters and strippers
Screwdrivers
Heat shrink tubing
Velcro straps or cable ties
Multimeter
Safety glasses
Step 1: Assemble the Frame
Start by assembling the drone frame according to the manufacturer’s instructions. Secure the arms, legs, or supports to the main body of the frame. Ensure all connections are tight and properly fastened.
Step 2: Attach Motors and Propellers
Attach the motors to the arms of the frame, one motor per arm.
Connect the propellers to the motor shafts. Make sure the propellers are correctly oriented for optimal thrust.
Step 3: Install Electronic Speed Controllers (ESCs)
Attach the ESCs to the arms of the frame close to the motors.
Solder the motor wires to the corresponding ESC wires. Be mindful of the wire color codes, typically matching wires of the same color.
Step 4: Connect the Flight Controller
Mount the flight controller board on the drone frame.
Connect the ESCs to the appropriate ports on the flight controller board. This establishes the link between the motors and the flight controller.
Step 5: Set Up the Power Distribution Board and Battery
Attach the power distribution board to the drone frame.
Connect the power distribution board to the ESCs and the flight controller.
Connect the LiPo battery to the power distribution board using a Velcro strap or cable tie to secure it to the frame.
Step 6: Install the Radio Transmitter and Receiver
Set up your radio transmitter and bind it to the receiver.
Mount the receiver on the drone’s frame and connect it to the flight controller board.
Step 7: Configure and Program
Connect the flight controller to a computer and configure it using the manufacturer’s software or an open-source drone flight controller software like Betaflight or Cleanflight.
Configure flight modes, calibrate sensors, and set up radio transmitter endpoints.
Step 8: Safety Precautions
Wear safety glasses when soldering or working with wires.
Ensure all connections are secure and properly insulated.
Check for loose screws and connections before flight.
Always fly in an open, unobstructed area away from people, buildings, and obstacles.
Be aware of local drone regulations and airspace restrictions.
Step 9: Test Flight
Perform a test flight in a safe area, carefully monitoring the drone’s behavior.
Ensure the drone hovers stably and responds to your commands.
Make any necessary adjustments to the flight controller settings.
Step 10: Optional Add-Ons
Depending on your goals and interests, you can consider adding optional components like an FPV camera and FPV goggles or a monitor for a first-person view flying experience.
Conclusion
Building your own drone can be an educational and rewarding experience, allowing you to gain a deeper understanding of the technology behind these aerial vehicles. This step-by-step guide provides the foundation for constructing a basic quadcopter drone. As you become more proficient in drone building and flying, you can explore more complex configurations, add advanced features, create your videos, and customize your drone to suit your specific needs and interests. Always prioritize safety and adherence to local regulations, and enjoy the exhilarating world of DIY drone construction.
Author